Step 1 - Access to Admin Center
First, you need to have an admin account with Microsoft 365. In order to start configuring this add-in it is necessary to log into your account and access the Admin Center. You can access the Admin Center by clicking on "Admin" from the list of apps. (See screen below).

Some styles on the screens can vary depending on the version of the Admin Center you have
Step 2 - Navigate to Integrated Apps
From the admin center left sidebar click on Settings > Integrated Apps. It will show a list of all the apps you have already integrated.
🚨 Important: If you have already installed a previous versions of the Report a Phish button and want to install a newer version, we strongly recommend you to remove the existing Add-In and then Upload the new one. Also clearing cache is key to make it works propertly.
To remove an existing app click on the app name and follow these steps:
Step 3 - Upload Report a Phish Manifest
.png?width=670&height=504&name=image%20(4).png)
From the Integrated apps view, click on the "Upload custom apps" button to add a new one. This action will display a sidebar with a couple of steps you need to follow. Please ensure you add the following details:
- Set the App type as "Office Add-in".
- Choose the "Upload manifest file (.xml) from device" option.
- Upload the last version of the Report a Phish manifest from your device.
- After uploading the manifest, Microsoft will automatically validate the file, and then if it's valid you can click on "Next".
.png?width=670&height=358&name=image%20(5).png)
Remember: There are two ways to get the Outlook Manifest from Symbol:
At the MSP/vCISO level
If you're an MSP or vCISO admin and you want to enable the "Report a Phish" button for ALL your customers then you can opt for downloading the Manifiest from the settings of your MSP/vCISO account. However, if you want to enable it for specific companies only then you need to download it per company by navigating to the company settings of each company and clicking on the "Download Manifest" button.
For Specific Companies
If you're an admin of a specific company then you can get it by navigating to your company settings and clicking on the "Download Manifest" button from the Report a Phish section.
Step 4 - Add Users
Once you have uploaded the Symbol Manifest file and clicked on the "Next" button, Microsoft will redirect you to the second step where you need to specify the group of users whom this App will be available for. In this step, you have the option to select between three options:
- Just you
- Entire Organization
- Specific users/groups.
.png?width=670&height=390&name=image%20(6).png)
Accept Permissions Requests
After selecting the group of users, you need to accept some permissions related to Outlook such as allowing the app to read the content of the mailbox and others. Once you agree with the terms click on the "next" button to continue.
.png?width=670&height=273&name=image%20(7).png)
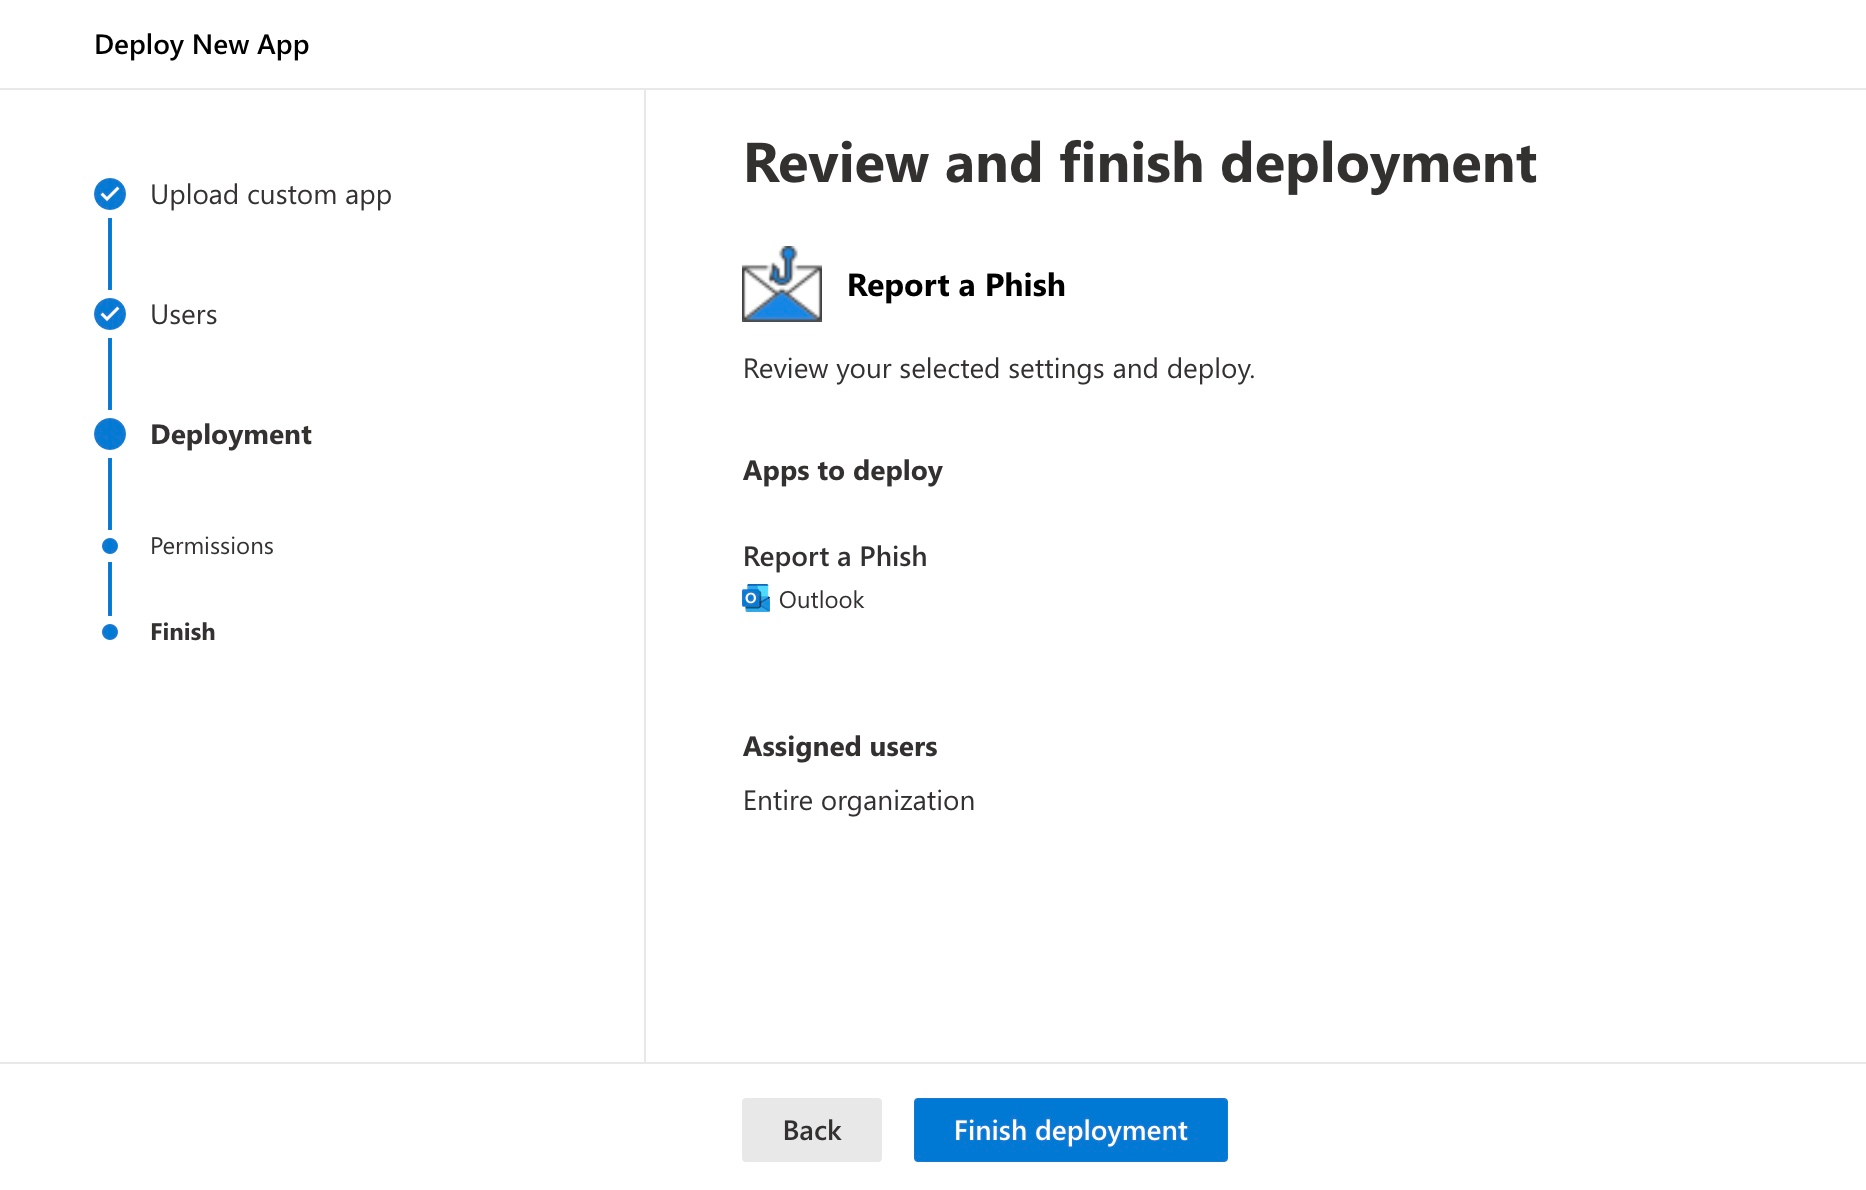
Review and finish deployment
In this last step, you just need to review and click on the button "Finish Deployment" to confirm the action of uploading the new app to your company. Once you click on this button the app will be uploaded and will be available for your users around the next 24 hours.
If users cannot access the Report a Phish button because of add-in permissions, an administrator may need to enable Admin Consent at the Enterprise Application level. If the administrator wants to control who can access the add-in, they can review each request in Azure > Enterprise Applications > Activity > Admin consent requests, verify the requested permissions, and approve consent for the appropriate users.